1. Physical connection:
Connect the AWUSB Plus ETH port to your PC Network (Note: on the PC Network should be present a DHCP server, as the AWUSB Plus ETH port is by default configured to get IP config via DHCP).
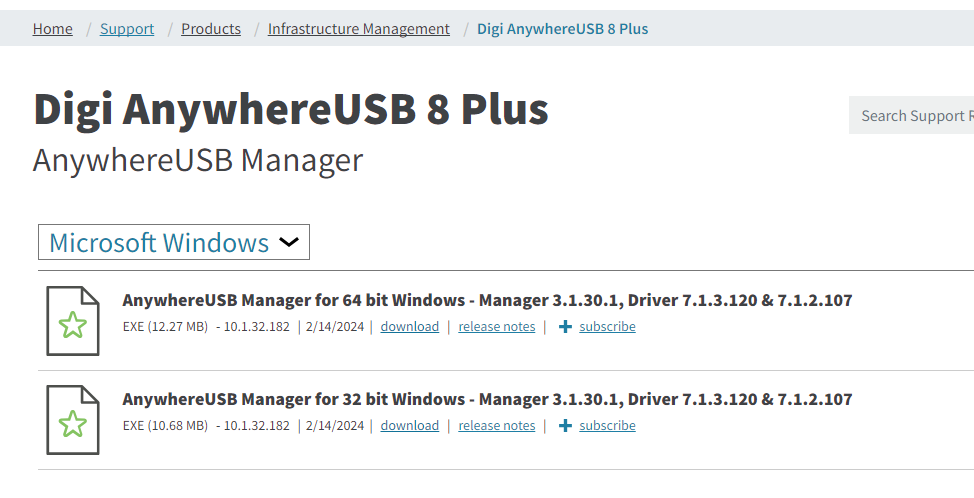
2. Download AWUSB Manager
Download latest Anywhere USB Manager for Windows, going to this link: Support Resources for Digi AnywhereUSB 8 Plus, selecting Microsoft Windows from the drop down menu and then click on “download” on the proper version:
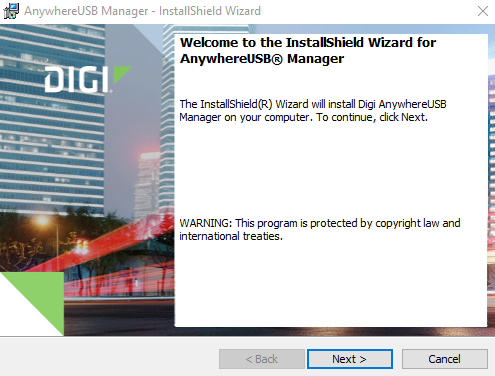
3. Install AWUSB Manager:
Open the .exe file downloaded and start the installation:
Select “Run as service” as Mode to Run and click on Install:
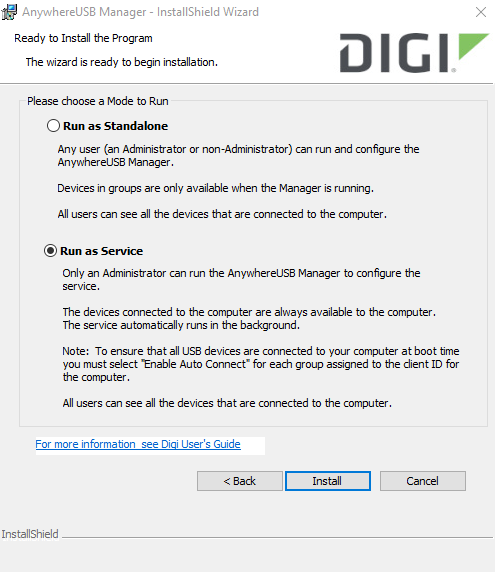
You can see more info about Anywhere USB Manager Modes here: Determine AnywhereUSB Manager mode: Service or stand-alone.
Wait for the installation to complete and click on Finish:

4. Configure AWUSB Manager: Launch AWUSB Manager and enter the Client ID to be used on the Anywhere USB service on this computer (note: this id must be unique, see ere for more information: Client ID overview)
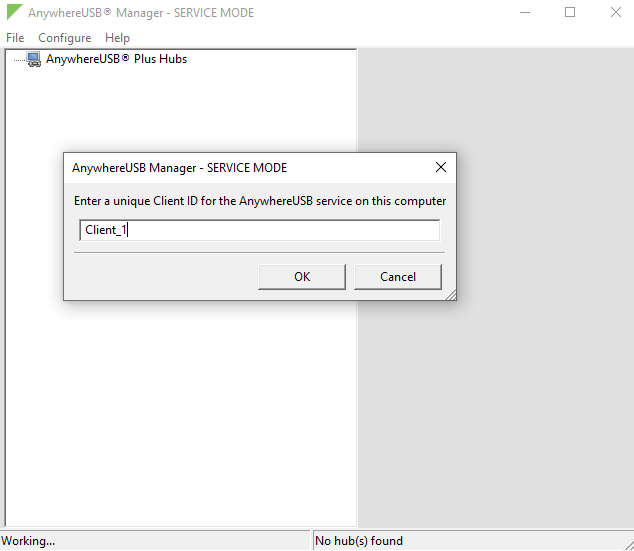
Once OK is clicked, AWUSB Manager will start the discover of AWUSB Plus hubs on the local network All discovered HUBs will be shown with a Red X as the Client ID is still not configured on the AWUSB Plus Hub:
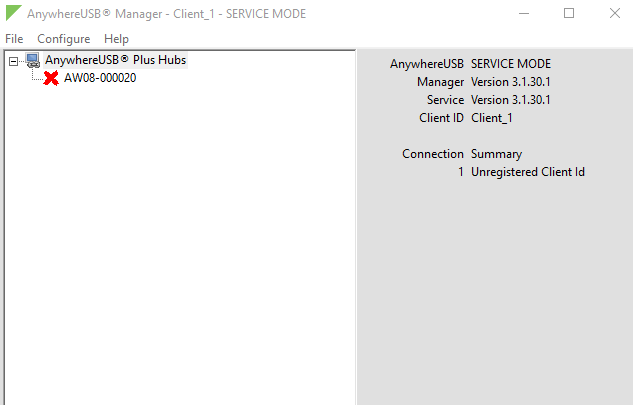
If no AWUSB plus are discovered, please see here for possible reasons/fixes: No remote Hubs found
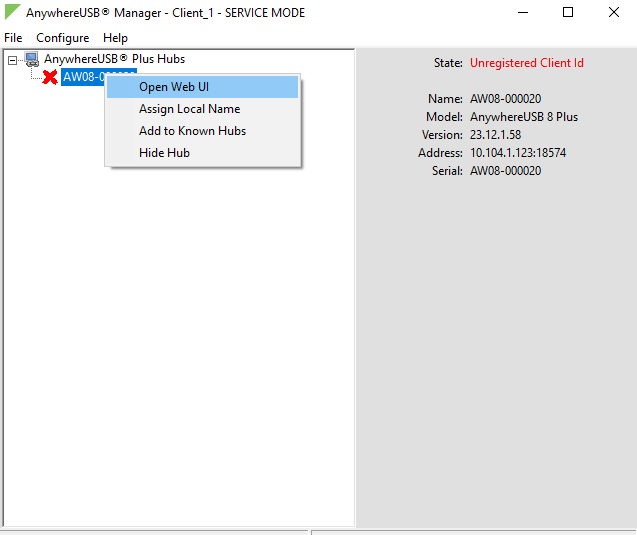
5.Configure AWUSB Plus HUB from WEB UI: Right click on the AWUSB Plus SN and select “Open WEB UI”:
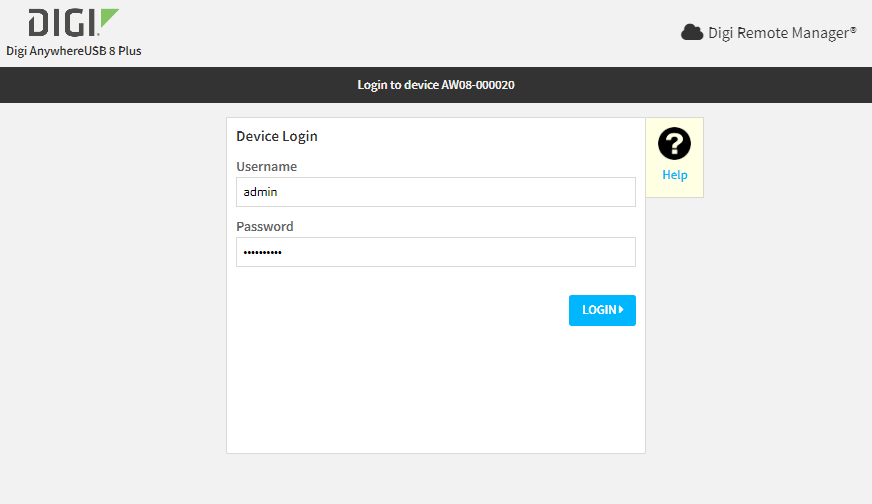
The WEB UI login page will be loaded, insert Username and Password and click “Login”:
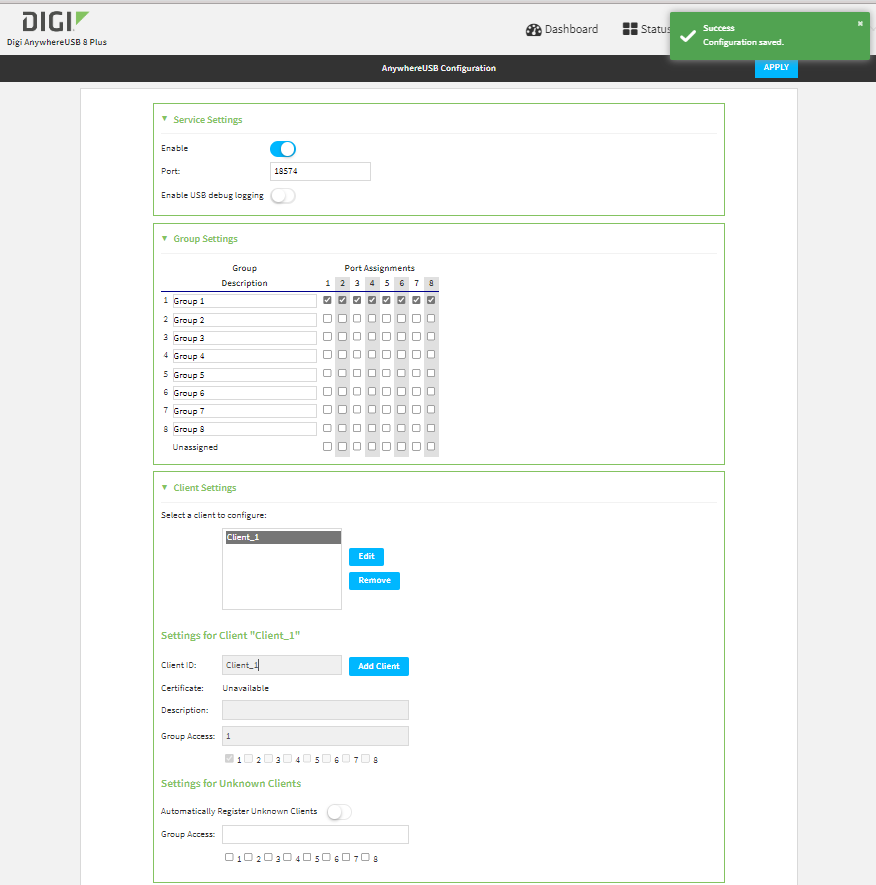
The dashboard will be displayed. Go to System > Anywhere USB configuration:
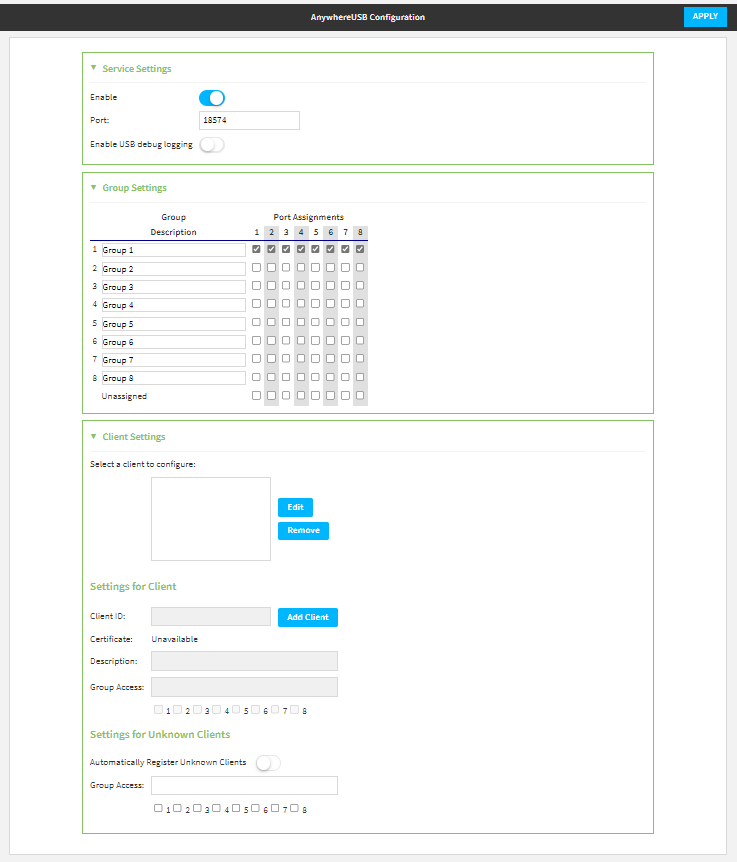
If needed, change the Port/Group assignment (see more details here: Name groups and assign ports to a group). By default all USB ports are assigned to Group 1.
Click on “Add Client”:

Edit the “New Client” name that appears to match the Client ID configured on the AWUSB manager and assign at least a group to it (in this example Group 1 is assigned, so this client will have access to all USB ports, see here for more ingo on Client&Group assignment: Assign groups to a client ID).
Click Apply:
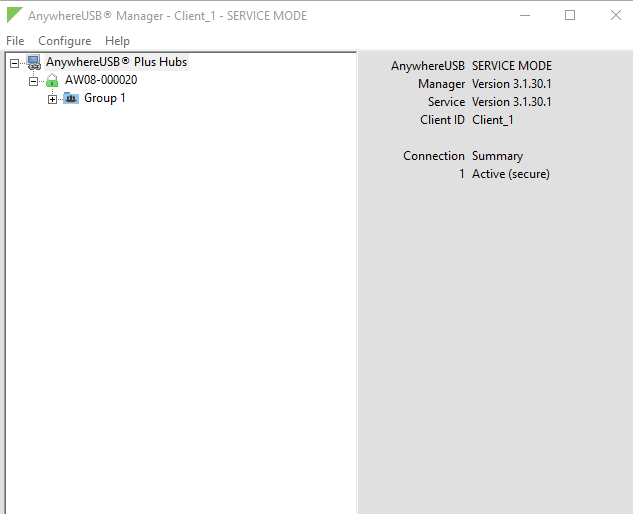
6. Verify AWUSB Plus HUB connection on AWUSB Manager and connect to group:
Once applied, go to the AWUSB manager again and the AWUSB Plus SN should shown now as Green. Also, expanding the view clicking on “+”, the available groups will be shown:
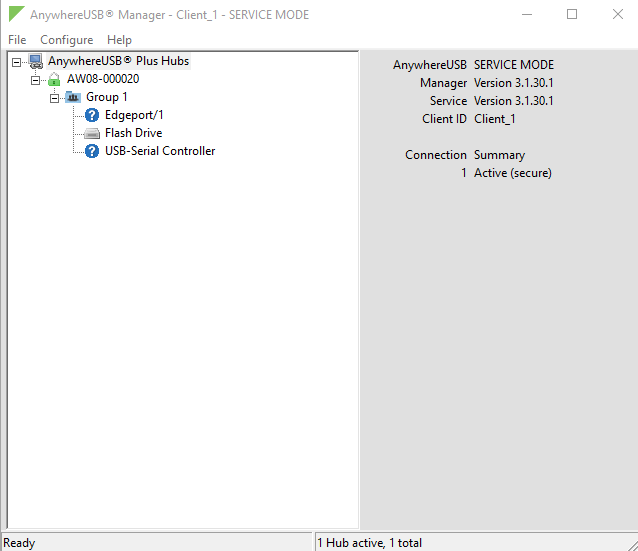
Under each group, all USB devices connected to the USB ports of that group will be shown:
Now, in order for the PC to see the USB devices as directly connected, right click on the Group and select “Connect to Group”
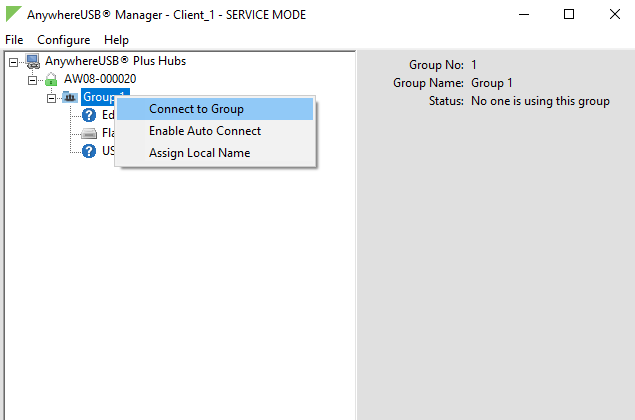
Now, the group and all USB devices under it, will be shown as “In use by you” and will be available as USB devices for the PC:

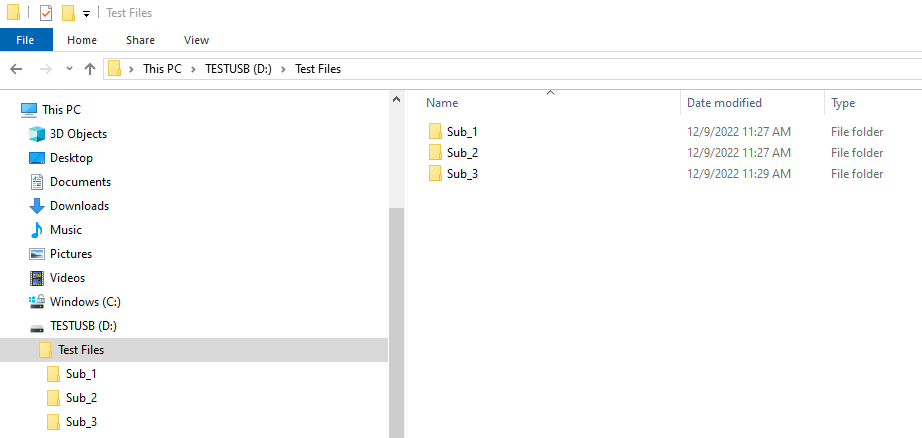
For example, the “Flash Drive” device will be available in File explorer as a USB drive with its Folders:
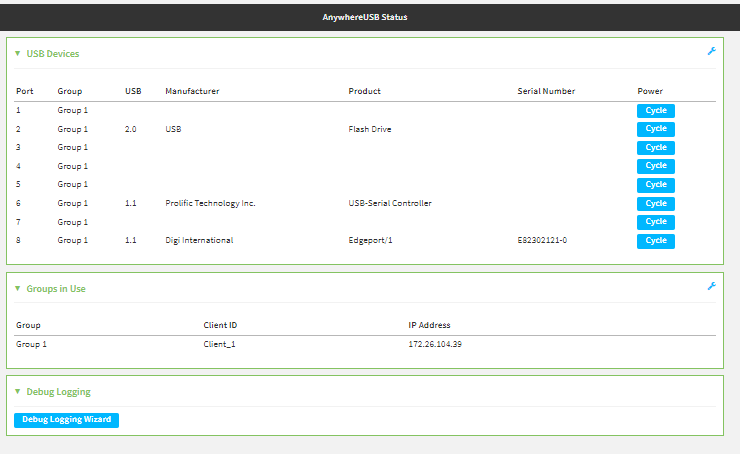
The successful connection can also be verified on the AWUSB Plus WEB UI in Status > Services > Anywhere USB:
Last updated:
Feb 23, 2024